
Apple’s latest operating system, macOS Sequoia, introduces a handy feature called iPhone Mirroring, allowing your iPhone notifications to appear directly on your Mac. While this offers convenience, it can quickly lead to an overwhelming influx of alerts. This guide will walk you through managing these notifications effectively, ensuring you stay informed without sacrificing focus.
Understanding iPhone Notification Mirroring
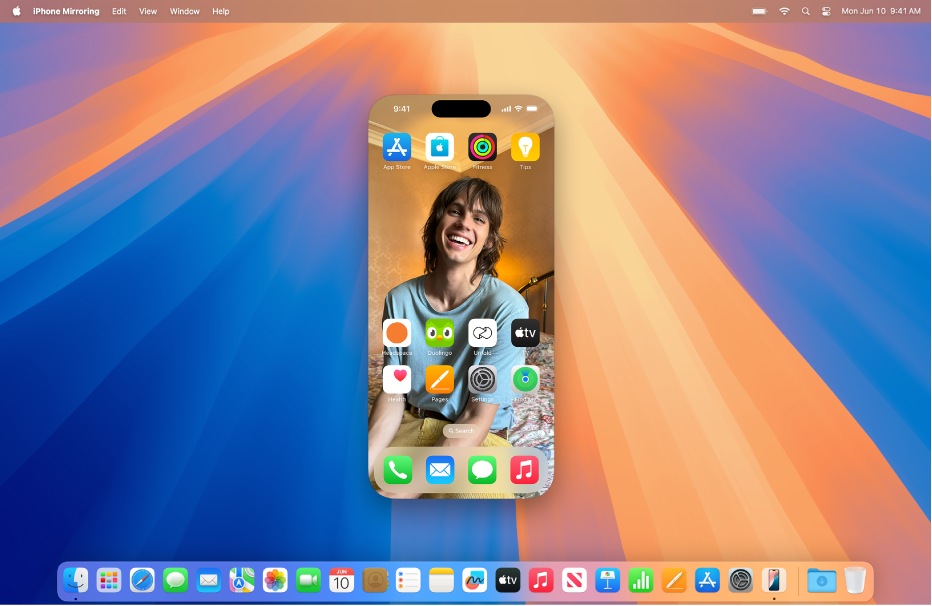
With iPhone Mirroring, your Mac becomes an extension of your iPhone’s notification center. This means messages, social media updates, reminders, and more can pop up on your Mac’s screen, even if your iPhone is locked or in another room.
To utilize this feature, ensure both your iPhone and Mac are updated to the latest operating systems – iOS 18 and macOS Sequoia, respectively. Once updated, the feature is automatically enabled, providing a seamless experience.

Taking Control of Your Notifications
While the automatic setup is convenient, it’s crucial to personalize the notification settings to match your preferences. Here’s how:
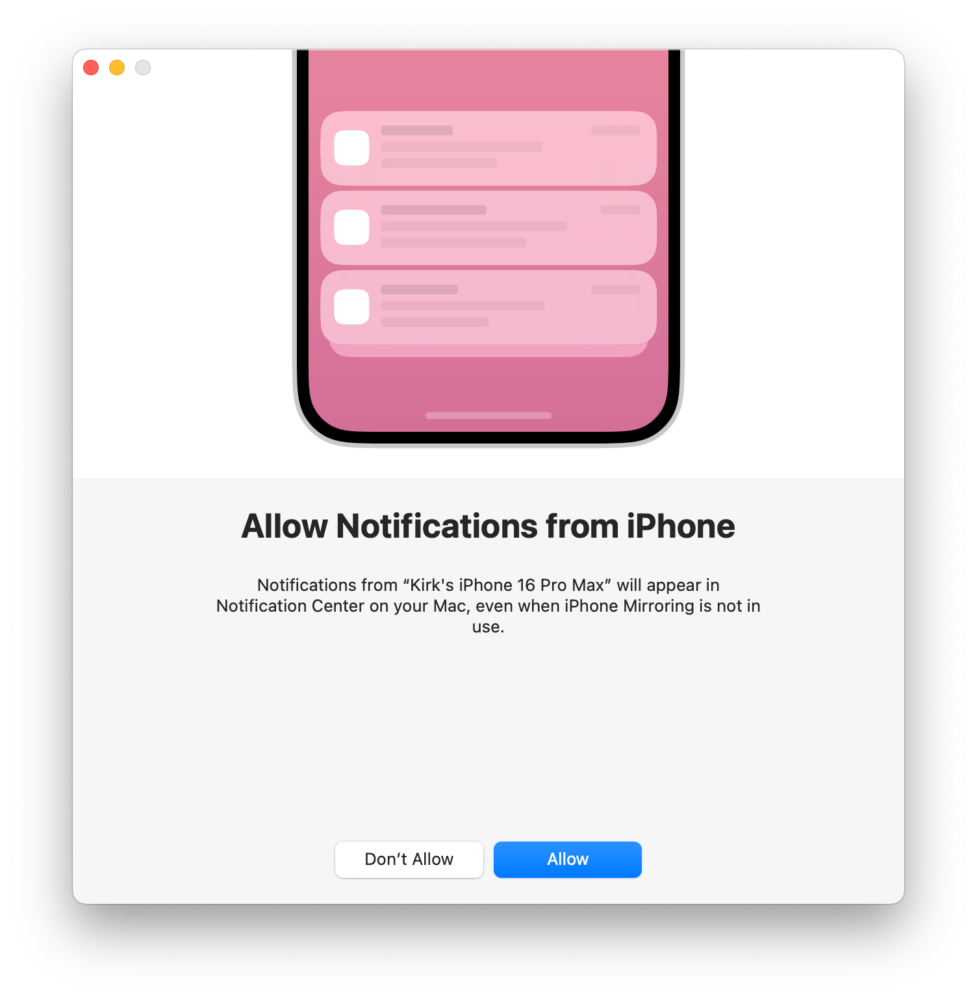
- Access Notification Settings: On your Mac, navigate to System Settings and click on “Notifications.”
- Manage iPhone Notifications: Locate the “Allow Notifications from iPhone” section. Here, you can toggle the feature on or off, and even control whether notification sounds accompany the alerts.
Fine-Tuning Notification Sources
For granular control, you can specify which apps are allowed to send notifications to your Mac. This can be done both on your iPhone and your Mac.
On your iPhone:
- Open Settings: Go to the “Notifications” tab within the Settings app.
- Select the App: Choose the app you wish to manage.
- Toggle “Show on Mac”: Under the Alerts section, you’ll find the “Show on Mac” toggle. Enable it to allow notifications or disable it to prevent them from appearing on your Mac.
On your Mac:
- Access Notifications: Go to System Settings and click on “Notifications.”
- Choose the App: Select the app you want to manage.
- Adjust Settings: Customize the notification style, sounds, and other preferences.
Important Notes:
- Disabling an app’s notifications on your iPhone will also prevent them from appearing on your Mac.
- If you’ve customized notification settings for an app on your iPhone, those preferences will carry over to your Mac.
The Benefits of Personalized Notifications
By carefully selecting which app notifications appear on your Mac, you can significantly enhance your productivity and focus. Here’s why:
- Reduced Distractions: Avoid being bombarded with unnecessary alerts from games, social media, or other non-essential apps.
- Prioritized Information: Ensure you only see notifications that are truly important, such as work emails, calendar reminders, or security alerts.
- Improved Concentration: Minimize interruptions while working on important tasks.
- Organized Workflow: Prevent duplicate notifications and keep your workspace clutter-free.
Beyond iPhone Mirroring
For a truly streamlined notification experience, consider extending your management to other devices. If you own an Apple Watch, for instance, take some time to adjust your notification settings there as well. This will minimize distractions and help you stay focused throughout the day.
Conclusion
iPhone notification mirroring in macOS Sequoia is a powerful tool for staying connected. However, without proper management, it can easily become a source of distraction. By following the steps outlined in this guide, you can tailor your notification settings to your specific needs, ensuring a balanced and productive workflow.